
In this entry I'll go over a few techniques for self signing certs for your server. This will include creating certs matching alternate host names, localhost, 127.0.0.1, etc.
Self Signing for Host
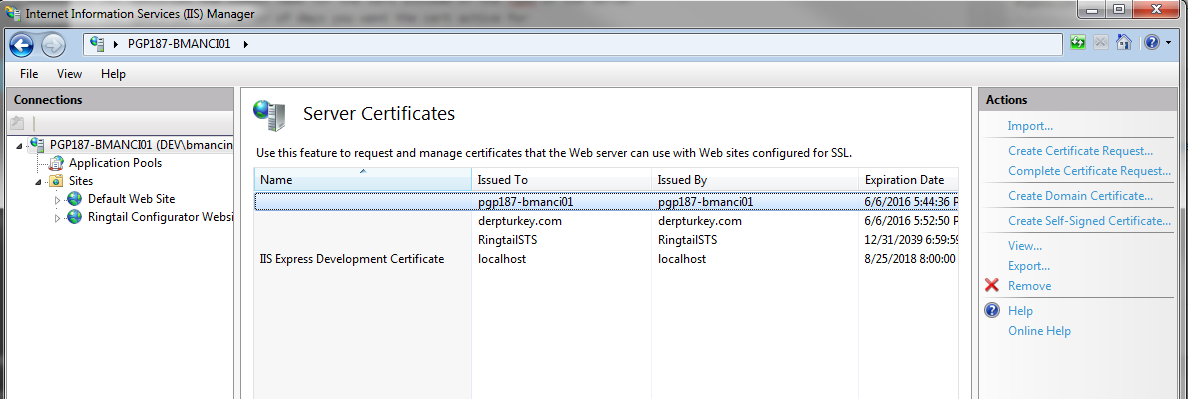
The simplest way to create a self-signed cert is to go to IIS Manager and access the Server Certificates feature under the server.
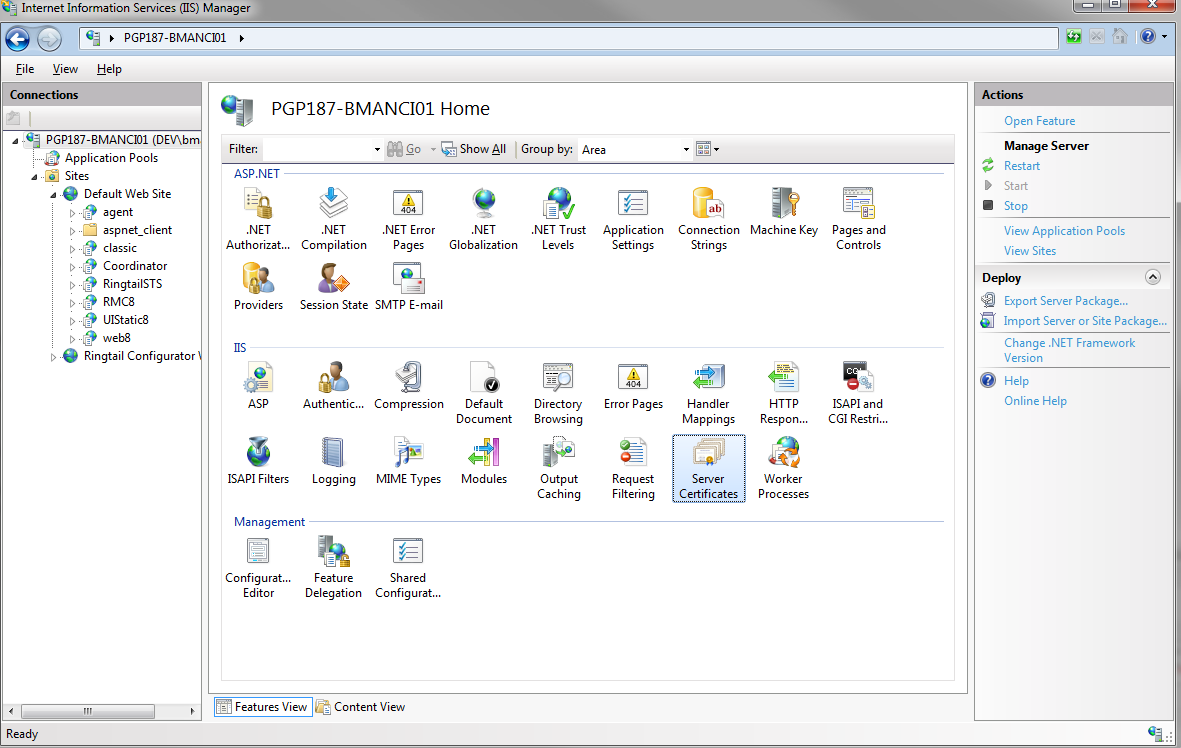
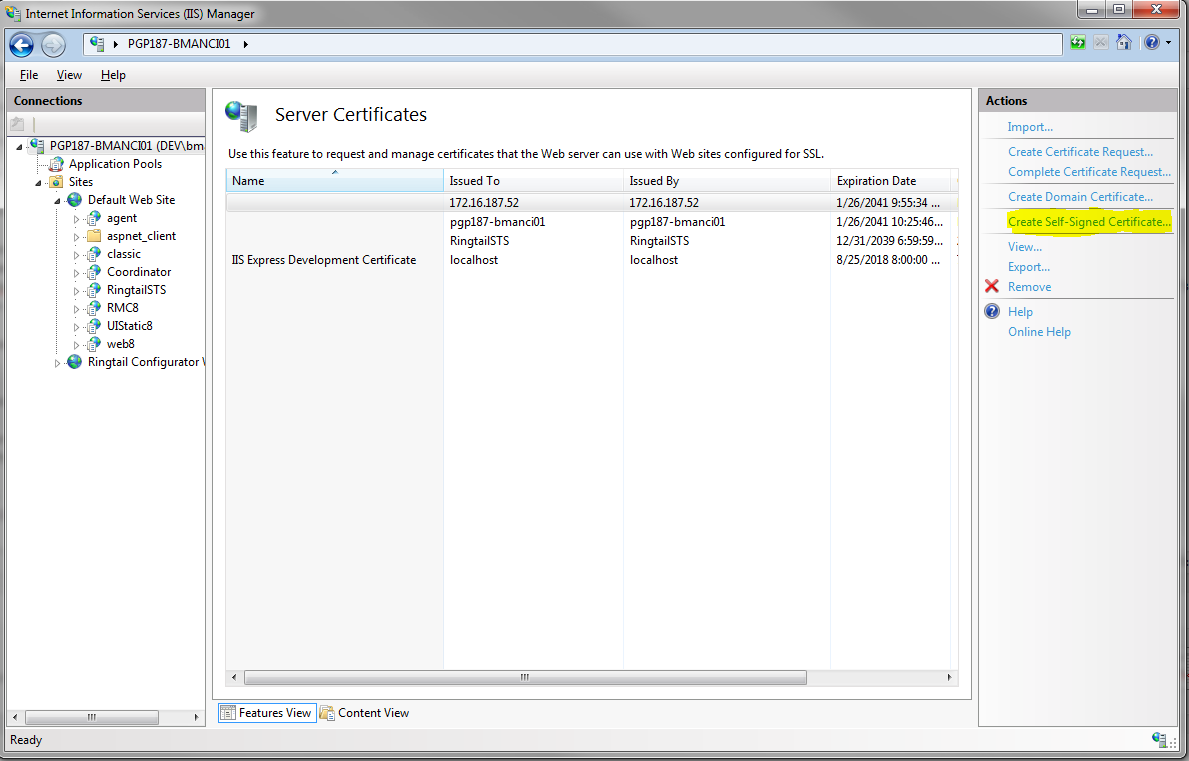
Once in this feature, click the "Create Self-Signed Certificate" action to bring up the wizard.
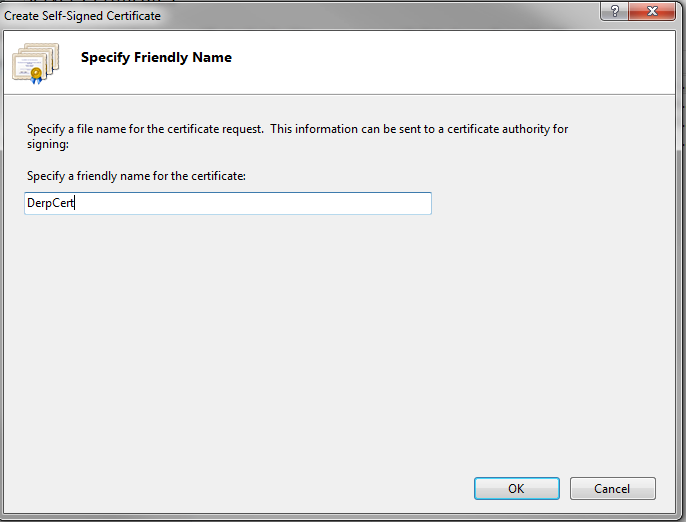
Simply enter the name of the certificate. Voila,you now have a cert.
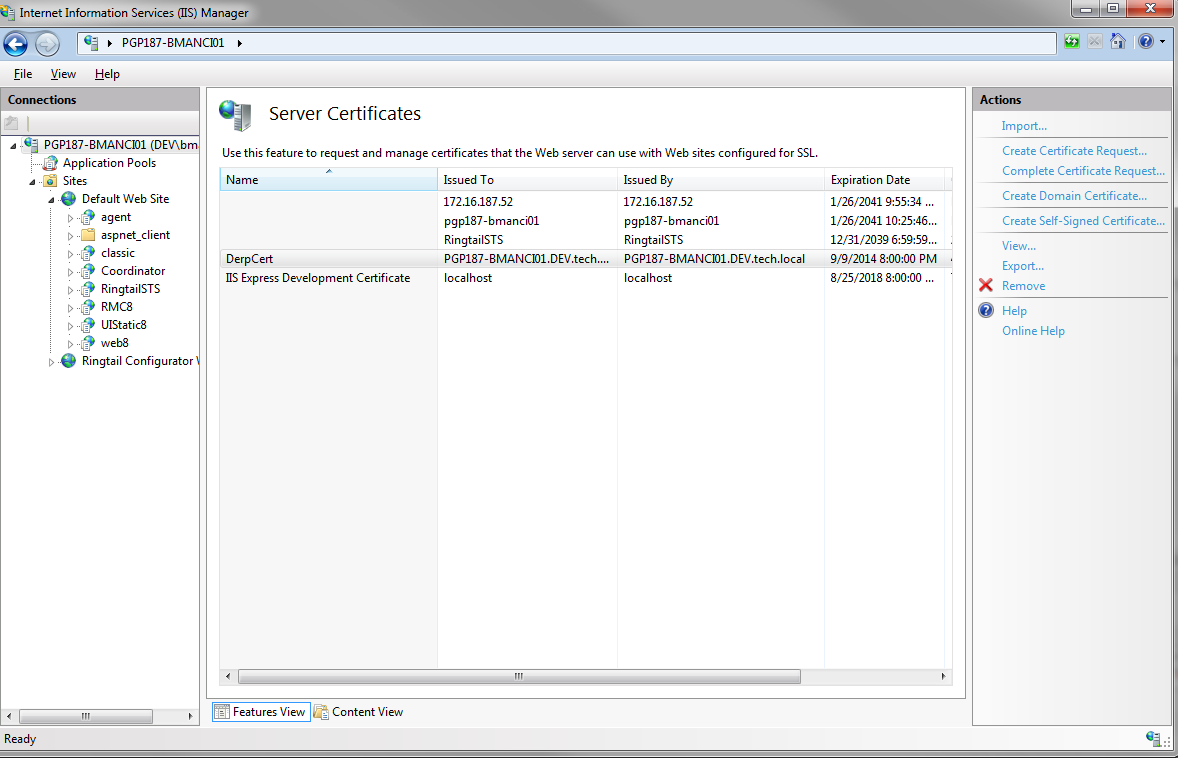
After creating the cert, you will see that it has the fully qualified domain name for your server available in the list of certificates.
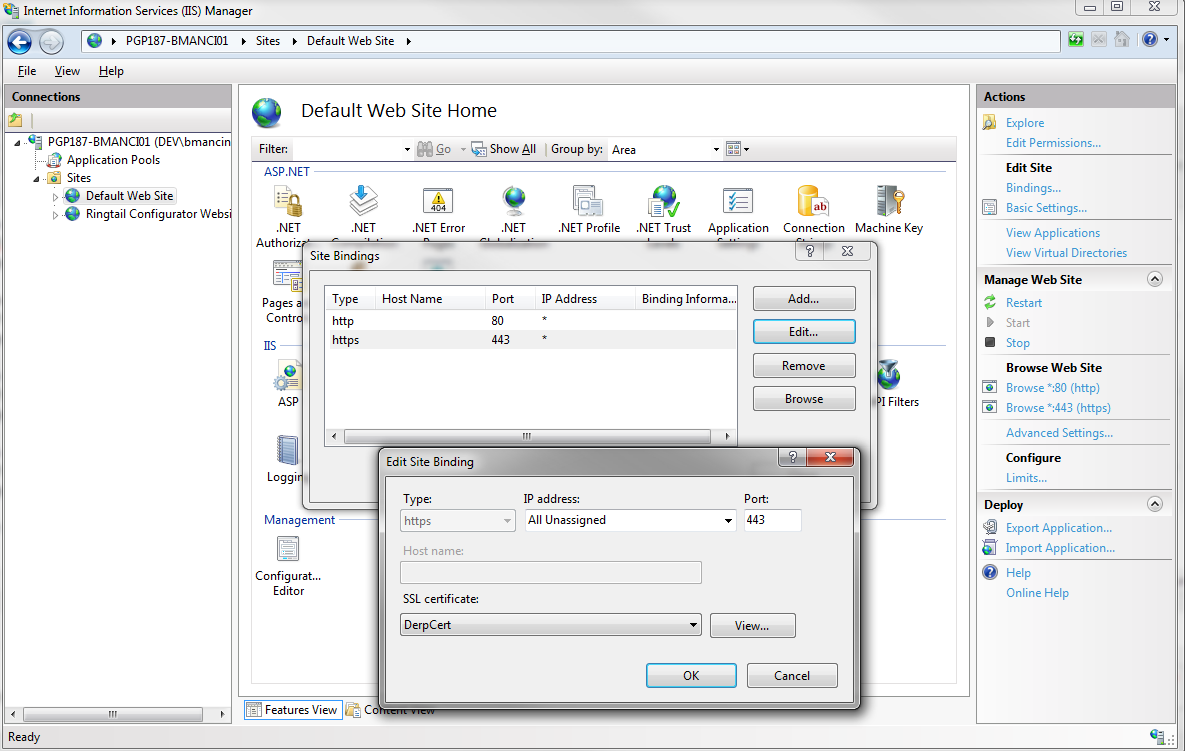
Now you need to add the cert to your website. Navigate to your website and click Bindings under Edit Site section. This will display the Site Bindings dialog. You will need to add a binding on port 443. Assign your newly created cert to it.
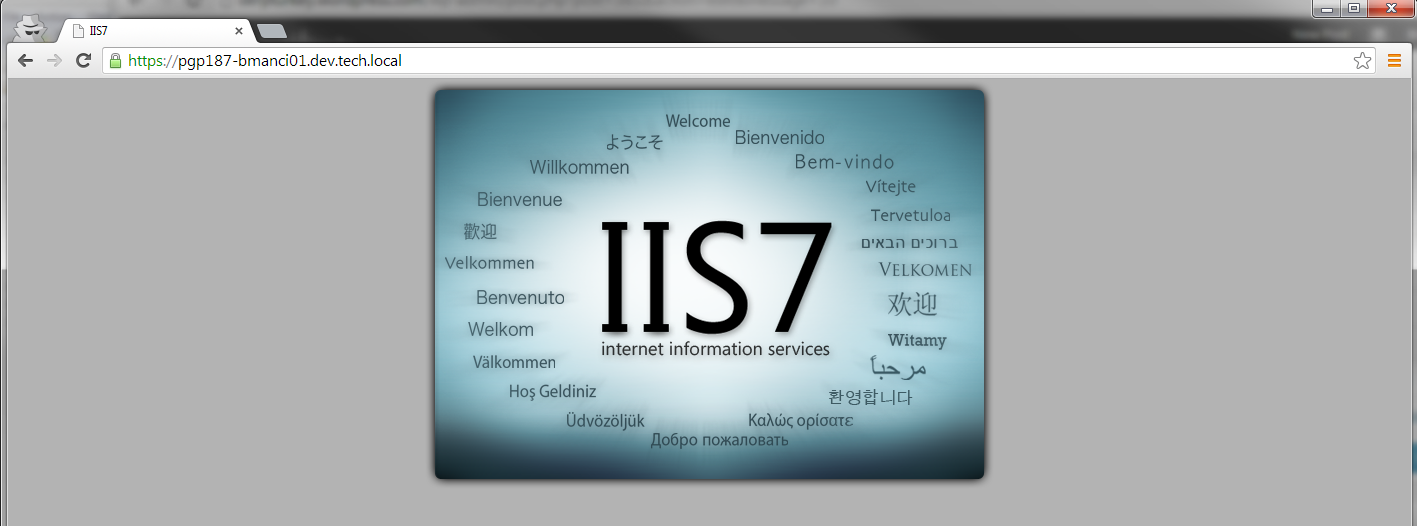
You can now access your site via the fully qualified domain name under https. You'll notice that you get a certificate warning.

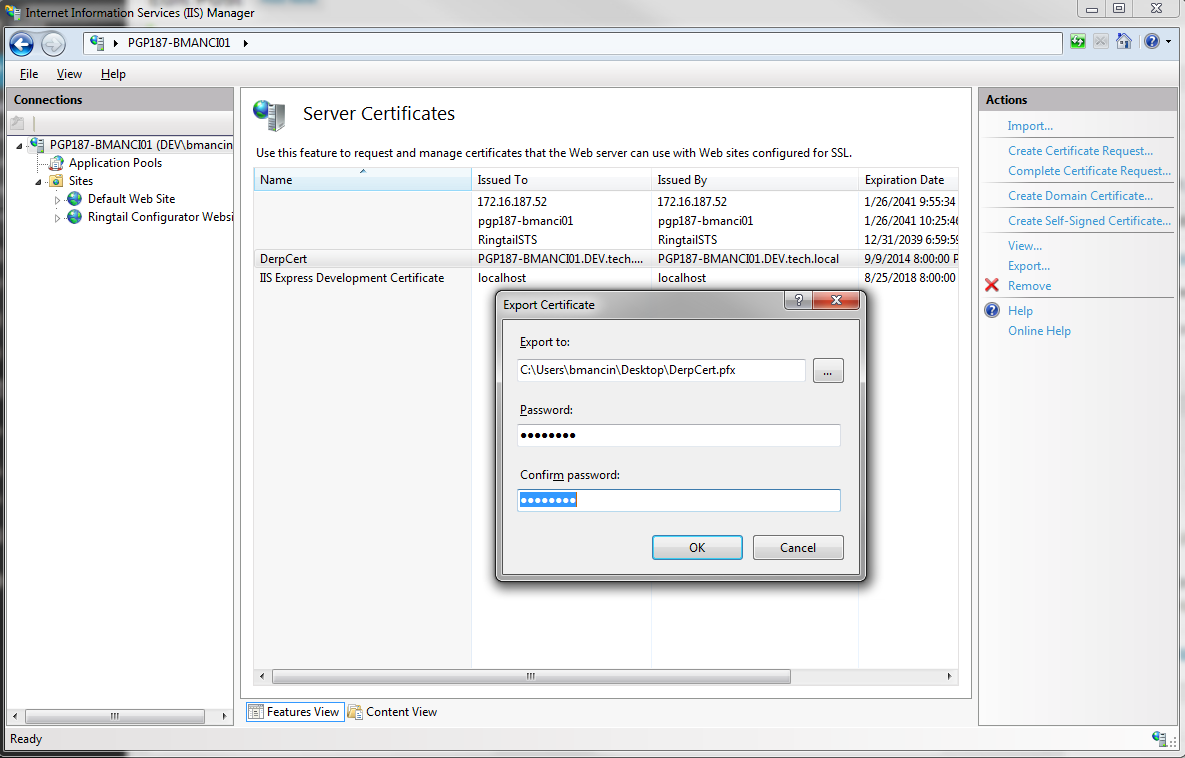
You can prevent this warning from appearing locally by adding the certificate to the "Trusted Root Certificate Authorities" store. To do this, go back to the IIS Manager. Under the server, click on the Server Certificates feature again. Then select your certificate and click the Export action.
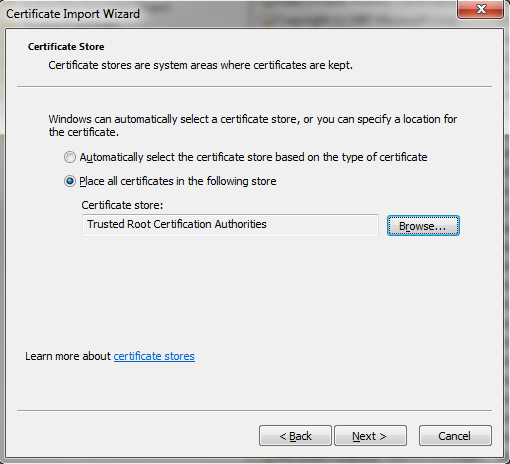
Right click the exported cert and click Install PFX. This will bring up the certificate installation wizard. Enter your password and when prompted for the certificate store select "Place all certificates in the following store" and choose "Trusted Root Certification Authorities".
Confirm the security warning and you should get a message that the import was successful. Now you should be able to access your site via the FQDN without getting a certificate error.
If you are still getting the error, you will want to check the Certificate Store via the MMC and make sure the certificate wasn't install in the wrong location. If it was, simply remove it and re-install it.
Self Signing for Localhost or Alternate Domains
The above is all well and good, but how often do we hit the FQDN of our server. The next step is creating self-signed certs for any domain you want.
In this example, I'll be accessing ssltest.derpturkey.com instead of the FQDN. You can use the exact same technique to create certs for localhost, 127.0.0.1 or any other domain you want to access via your local IIS service.
To get started you will need to download and install the IIS6 Resource Kit to that you can access the SelfSSL tool.
http://support.microsoft.com/kb/840671
Fire up the command prompt and navigate to the default install directory for this tool:
C:\Program Files (x86)\IIS Resources\SelfSSL
Then get the IDs for your websites. You will need the ID of the website you want the cert installed into:
c:\windows\system32\inetsrv\appcmd.exe list sites
Now we will use the SelfSSL tool to create a new cert. The cert takes a variety of parameters accessible via help:
selfssl --help
The parameters of note are:
/N: specifies the common name for the cert instead of the FQDN of the server
/V: specifies the number of days you want the cert active for
/S: specifies the site ID to install the cert to
/T: installs the cert to the Trusted Root Certificate Authorities
Create the self signed cert by specifing the hostname, expiration, site id, and adding it to the store:
selfssl /N:CN=ssltest.derpturkey.com /V:1000 /S:1 /T
You can verify the cert was install by browser to the Server Certificates page in IIS and checking that the HTTPS binding was updated for you site.
You now can access your site via the host in your new cert!
